Greetings, fellow creator. The time has come to transform simple yarn into a companion of profound character. Let us craft this little scholar together, stitch by careful stitch.
About This Creation & A Study in Layering
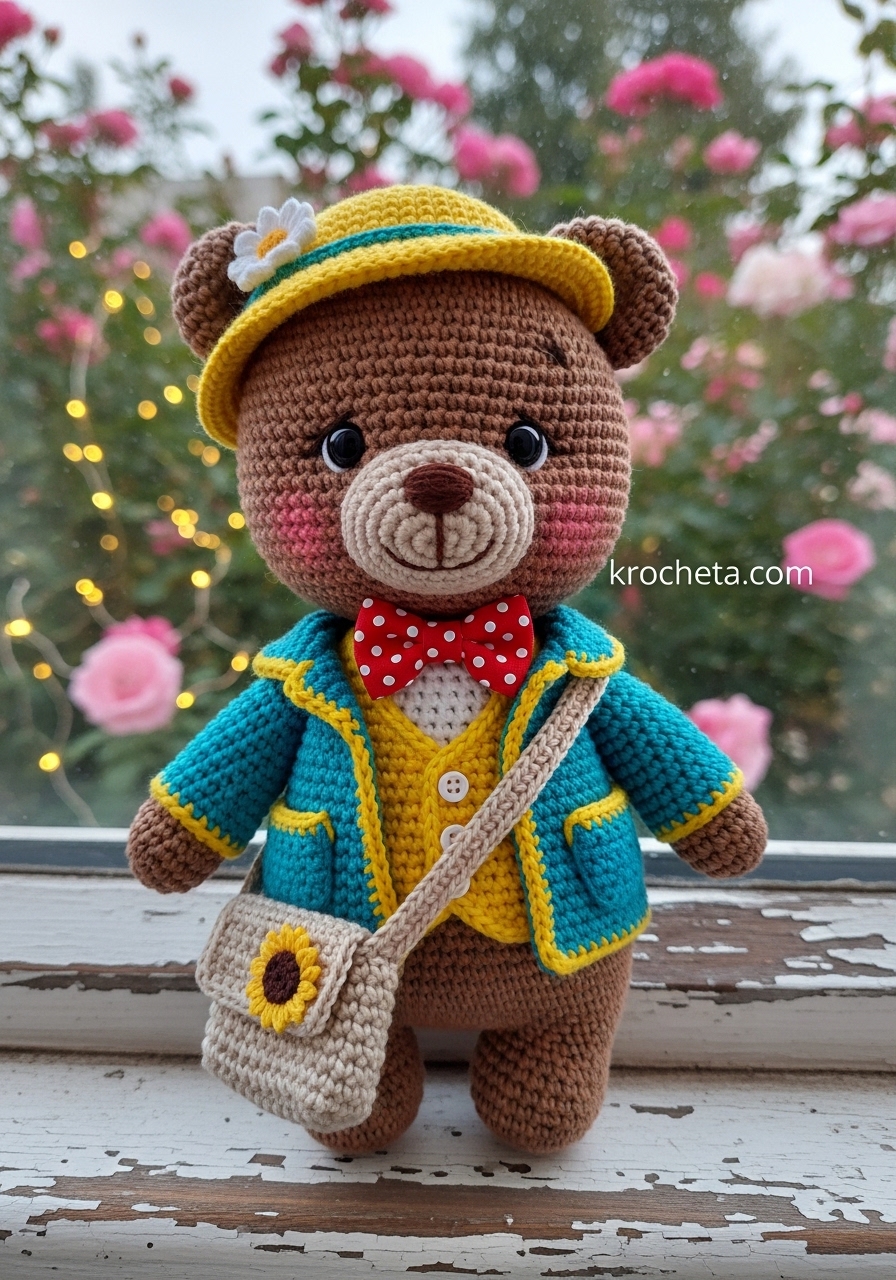
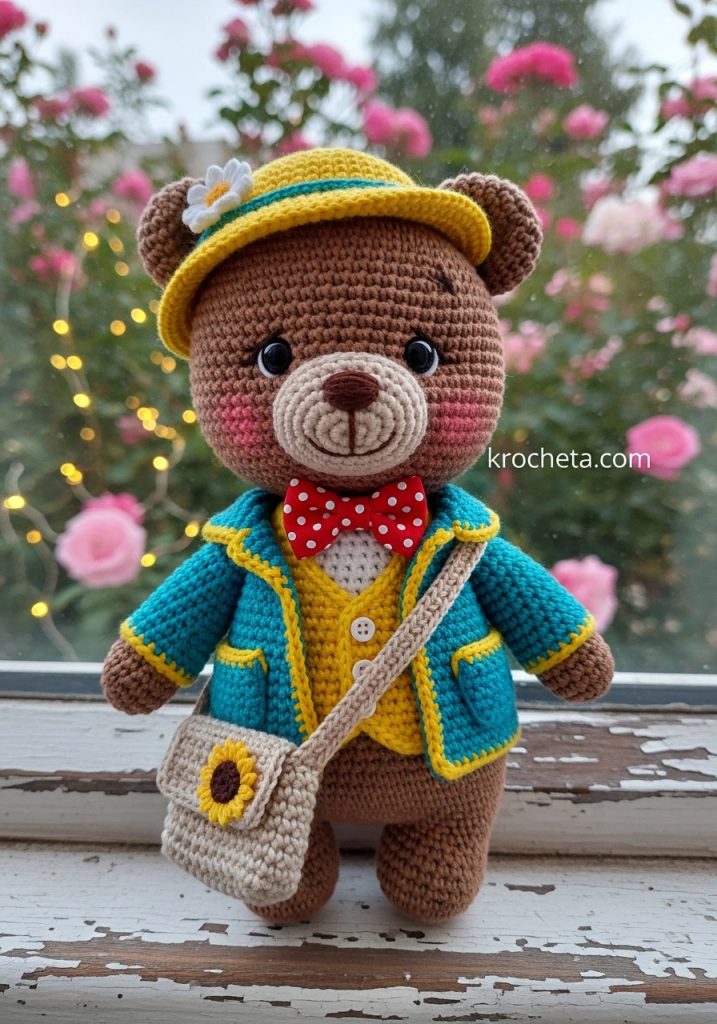
We weave character through layers. Barnaby is not just a bear. He is a story told through textured stitches and tailored garments.
This project serves as a masterclass in crochet clothing construction. From his golden vest to his deep teal jacket, mastering these miniature garments elevates your amigurumi skills to exceptional new heights.
We will focus on tension control and color harmony. Notice how the sage green stripe on his hat speaks to the teal of his coat. Every choice is deliberate.
Project Snapshot
📊 Difficulty: Advanced Intermediate
⏰ Est. Time: 15 Hours
📏 Size: 22 cm (8.5 inches) tall
“True artistry lies in the patience of the details.”
Materials & Tools Needed
🧶 Yarn: Sport weight cotton-acrylic blend. Light brown (2 balls), Teal, Golden yellow, White, Beige, Deep red, Sage green.
🪡 Hook: 2.5mm crochet hook.
✨ Other Materials: 8mm safety eyes, soft polyester fiberfill, yarn needle, stitch markers.
✨ Embroidery Supplies: Embroidery floss (pink, dark brown, white), tiny wooden buttons (4mm).
Abbreviations & Stitches Used
ch: chain
sl st: slip stitch
sc: single crochet
hdc: half double crochet
dc: double crochet
inc: increase (2 sc in one stitch)
dec: decrease (invisible decrease preferred)
FLO: front loops only
BLO: back loops only
The Complete Barnaby Pattern
The Head
We begin with the mind of our scholar. The shaping here creates his youthful, rounded cheeks.
R1: 6 sc in a magic ring (6)
R2: 6 inc (12)
R3: (1 sc, inc) x 6 (18)
R4 to R14: Continue increasing by 6 stitches each round following standard circle logic until you reach 84 sc.
R15 to R24: 84 sc.
R25 (Cheek Shaping): 24 sc, (inc, 1 sc) x 6, 12 sc, (1 sc, inc) x 6, 24 sc (96)
R26 to R32: 96 sc.
R33 (Defining the Cheeks): 24 sc, (dec, 1 sc) x 6, 12 sc, (1 sc, dec) x 6, 24 sc (84)
R34 to R42: Decrease by 6 stitches each round until 30 sc remain.
R43: (3 sc, dec) x 6 (24)
R44: (2 sc, dec) x 6 (18)
Fasten off.
Artisan’s Note: Place the 8mm safety eyes between rounds 23 and 24, spacing them 14 stitches apart. Embroider soft pink blush directly beneath the eyes.
The Muzzle
R1: 6 sc in a magic ring (6)
R2: 6 inc (12)
R3: (1 sc, inc) x 6 (18)
R4: (2 sc, inc) x 6 (24)
R5 to R7: 24 sc.
Fasten off, leaving a long tail for sewing. Embroider a delicate dark brown nose and a gentle, innocent smile.
The Ears (Make 2)
R1: 6 sc in a magic ring (6)
R2: 6 inc (12)
R3: (1 sc, inc) x 6 (18)
R4: (2 sc, inc) x 6 (24)
R5 to R8: 24 sc.
Do not stuff. Fold flat and gently curve the base when attaching to the head.
The Body
A delightfully plump foundation to support his tailored garments.
R1: 6 sc in a magic ring (6)
R2: 6 inc (12)
R3 to R10: Continue increasing by 6 stitches each round until you reach 60 sc.
R11 to R20: 60 sc.
R21: (8 sc, dec) x 6 (54)
R22 to R24: 54 sc.
R25: (7 sc, dec) x 6 (48)
R26 to R28: 48 sc.
R29: (6 sc, dec) x 6 (42)
R30 to R32: 42 sc.
R33: (5 sc, dec) x 6 (36)
R34 to R36: 36 sc.
R37: (4 sc, dec) x 6 (30)
R38 to R39: 30 sc.
R40: (3 sc, dec) x 6 (24)
R41: (2 sc, dec) x 6 (18)
Fasten off, leaving a long tail. Stuff firmly, especially at the base for stability.
The Legs (Make 2)
R1: 6 sc in a magic ring (6)
R2: 6 inc (12)
R3: (1 sc, inc) x 6 (18)
R4: (2 sc, inc) x 6 (24)
R5: BLO 24 sc to create a flat foot base.
R6 to R8: 24 sc.
R9 (Knee Shaping): 6 sc, 6 dec, 6 sc (18)
R10 to R16: 18 sc.
Fasten off. Stuff the bottom firmly and the top lightly.
The Arms (Make 2)
R1: 6 sc in a magic ring (6)
R2: 6 inc (12)
R3: (1 sc, inc) x 6 (18)
R4 to R6: 18 sc.
R7: (1 sc, dec) x 6 (12)
R8 to R20: 12 sc.
Fasten off. Lightly stuff the paws.
The Vest
Worked in rows using Golden Yellow yarn.
Row 1: Ch 41. Starting in the 2nd ch from hook, 40 sc. Turn.
Row 2 to 8: Ch 1, 40 sc. Turn.
Row 9 (Armholes): Ch 1, 6 sc, ch 8, skip 6 sts, 16 sc, ch 8, skip 6 sts, 6 sc. Turn.
Row 10 to 14: Ch 1, sc across all stitches and chains.
Fasten off. Sew three tiny wooden buttons to the left front panel.
The Bow Tie
Using Deep Red yarn.
Row 1: Ch 10. Sc in 2nd ch from hook and across (9). Turn.
Row 2 to 4: Ch 1, 9 sc. Turn.
Fasten off. Pinch the center tightly and wrap yarn around it 10 times to form the bow shape. Embroider tiny white French knots for polka dots.
The Jacket
Worked in rows from the top down using Teal yarn.
Row 1: Ch 35. Starting in 2nd ch, 34 sc. Turn.
Row 2: Ch 1. (4 sc, inc) x 6, 4 sc (40). Turn.
Row 3 (Raglan Increases): Ch 1. 6 sc, 3 sc in next st, 6 sc, 3 sc in next st, 12 sc, 3 sc in next st, 6 sc, 3 sc in next st, 6 sc. Turn.
Row 4 to 6: Continue raglan increases at the 4 corners.
Row 7 (Separating sleeves): Sc to first corner, skip all sleeve stitches, sc across the back to the next corner, skip sleeve stitches, sc to end.
Row 8 to 18: Sc evenly across the body.
Border: Join Golden Yellow. Sc evenly around the entire jacket edge, placing 3 sc in the bottom corners.
Pockets (Make 2 in Teal): Ch 7, 6 sc across for 4 rows. Border in Yellow. Sew to jacket.
The Hat
Using Golden Yellow yarn.
R1: 6 sc in a magic ring (6)
R2: 6 inc (12)
R3 to R8: Standard circle increases up to 48 sc.
R9 to R13: 48 sc.
R14: Change to Sage Green. 48 sc.
R15: Change back to Golden Yellow. FLO (7 sc, inc) x 6 (54).
R16: (8 sc, inc) x 6 (60).
R17: (9 sc, inc) x 6 (66). Fasten off.
The Hat Daisy
Center: With Yellow, 6 sc in MR. Sl st to join.
Petals: Change to White. (Ch 3, dc in same st, ch 3, sl st in next st) x 6. Fasten off and attach to the hat band.
The Messenger Bag
Using Beige yarn.
Base: Ch 11. Sc in 2nd ch and across. 3 sc in the last ch. Work down the opposite side of the chain. (22)
Body: Work 8 rounds of 22 sc.
Flap: Work back and forth in rows over the back 11 stitches only for 6 rows.
Strap: Ch 60. Attach to the opposite side of the bag.
The Bag Sunflower
Center: With Dark Brown, 6 sc in MR.
Petals: Change to Golden Yellow. (Ch 2, hdc in same st, ch 2, sl st in next st) x 6. Sew to the bag flap.
Assembly & Final Touches
➡️ Position the head perfectly centered on the body and stitch securely through all 18 posts of both pieces.
➡️ Pin the arms just beneath the neck seam. Sew them down flat.
➡️ Attach the legs to the bottom of the body so Barnaby can sit or stand balanced.
➡️ Dress him carefully. The vest goes first, followed by the bow tie. Layer the jacket over top.
➡️ Secure the hat to his head with a few hidden stitches, slightly tipped to one side. Place the messenger bag across his body.
Tips & FAQs
Q: Can I use acrylic yarn instead of a cotton blend? A: You certainly can. Keep in mind that acrylic has more stretch, so maintain a very tight tension to prevent the stuffing from showing through your beautiful stitches.
Q: How do I get the cheeks to look so pronounced? A: The magic is in the shaping rounds. Ensure you stuff the head strategically, pushing the fiberfill firmly into those increase areas before closing the piece.
A Final Word
You have breathed life into a mere skein of yarn. Barnaby now stands before you, a testament to your patience and skill. Hold him close, admire your handiwork, and always remember the joy found in creating.