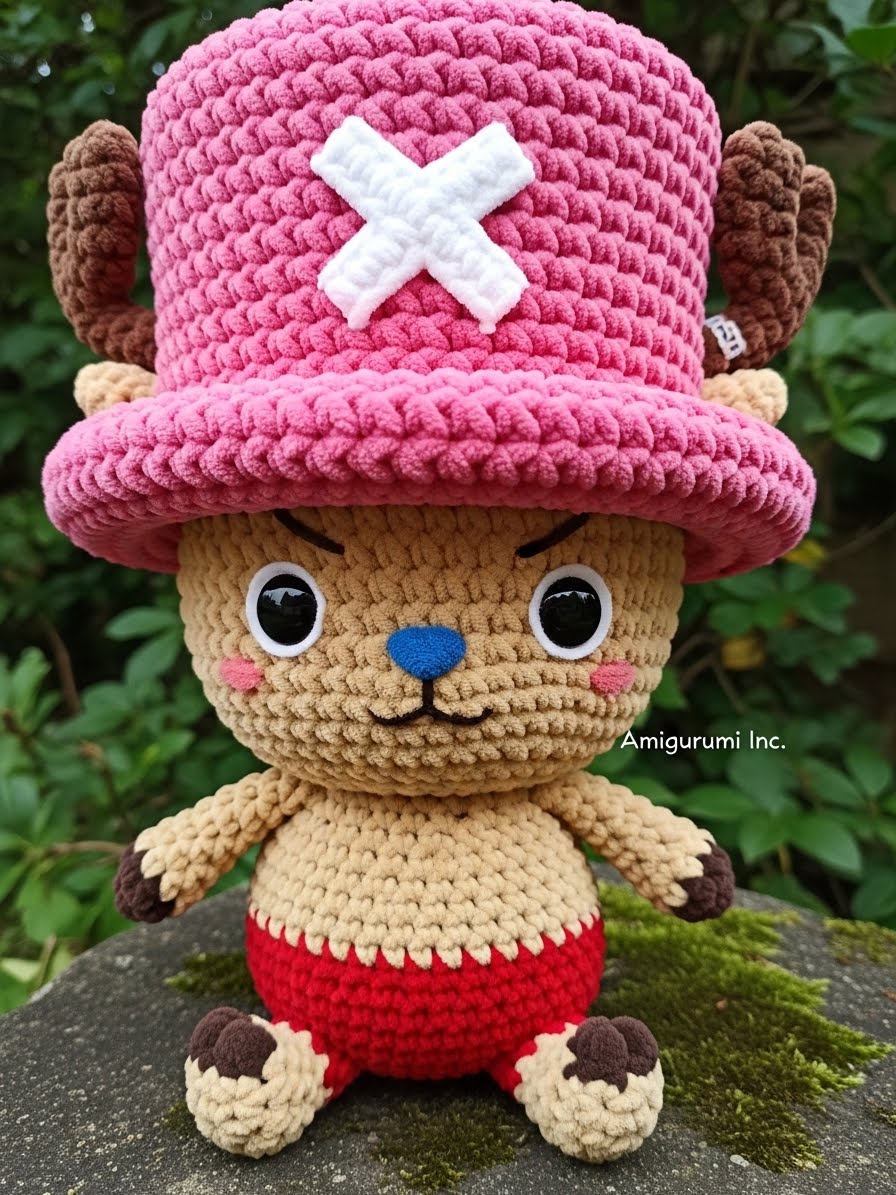
There is something truly healing about crafting a character who is, himself, a doctor. This little reindeer is not just a toy; he is a bundle of comfort. We are using bulky velvet yarn today to capture that specific “clouds and candy” texture that makes him impossible to put down. Trust the tension of your yarn, and let us sculpt this little friend together.
About This Creation & Angle
We are focusing on the “Tactile Experience.” Many patterns for this character result in a stiff, distinctively “doll-like” feel. By switching to a super-bulky chenille (size 6) and simplifying the shapes into rounded “blobs,” we achieve a premium, store-bought plush aesthetic. This project is perfect for those terrified of complicated color changes, as we build the components separately to ensure clean lines.
Project Snapshot:
📊 Difficulty: Intermediate (due to chenille yarn visibility)
⏰ Est. Time: 4–6 Hours
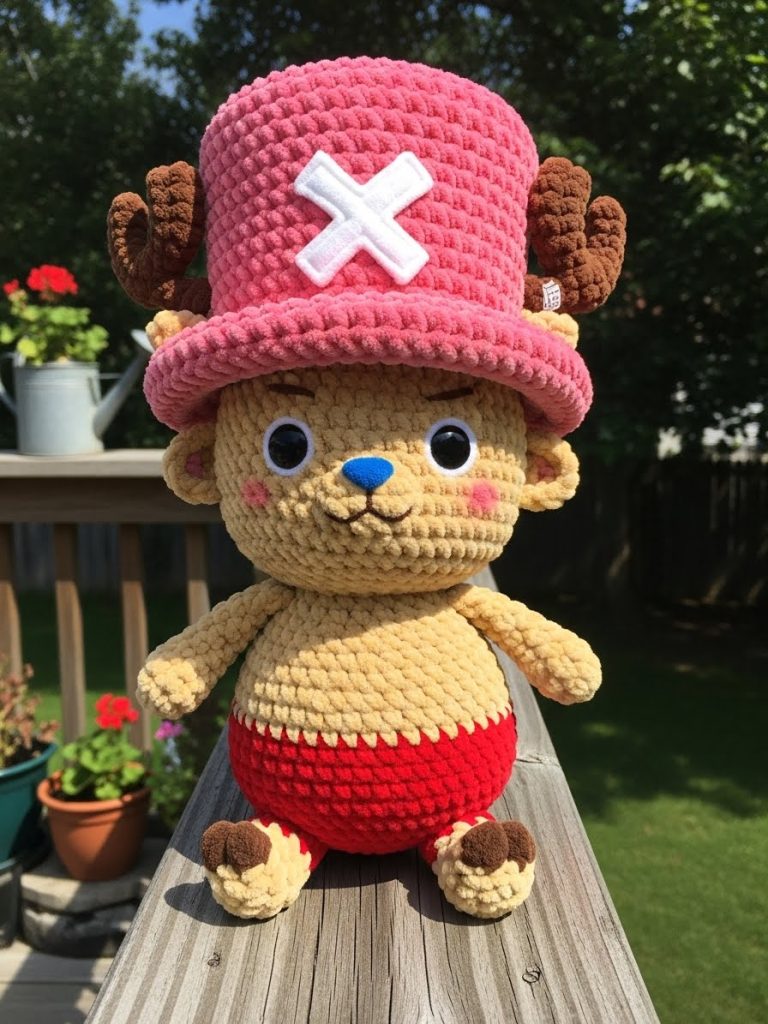
📏 Size: Approx. 25cm (10 inches) tall
“The magic of amigurumi is not in the complexity of the stitch, but in the personality of the shape.”
Materials & Tools Needed
🧶 Yarn: Super Bulky Chenille/Velvet yarn (Size 6). Colors: Biscuit/Tan (Skin/Fur) Rose Pink (Hat) Bright Red (Shorts) Dark Brown (Antlers) Small amount of Blue (Nose)
🪡 Hook: 4.5mm or 5.0mm (to keep stitches tight)
✨ Other Materials: Polyfill stuffing (high quality) White felt sheet (for the ‘X’) Fabric glue 12mm or 14mm Safety Eyes Stitch markers (essential for chenille!) Tapestry needle (large eye)
Abbreviations & Stitches Used
ch: chain
sl st: slip stitch
sc: single crochet
inc: increase (2 sc in one stitch)
dec: invisible decrease (sc 2 together)
BLO: back loop only
FLO: front loop only
The Complete “Cotton Candy Doctor” Pattern
Component 1: The Head (Tan/Biscuit)
We begin with the face. We want a wide, chubby look.
R1: Start 6 sc in a magic ring (6)
R2: inc in each st around (12)
R3: (sc 1, inc) repeat 6 times (18)
R4: (sc 2, inc) repeat 6 times (24)
R5: (sc 3, inc) repeat 6 times (30)
R6: (sc 4, inc) repeat 6 times (36)
R7: (sc 5, inc) repeat 6 times (42)
R8: (sc 6, inc) repeat 6 times (48)
R9–R17: sc in each st around (48) — This section creates the chubby cheeks.
R18: (sc 6, dec) repeat 6 times (42)
R19: (sc 5, dec) repeat 6 times (36)
Insert Safety Eyes between R13 and R14, approx 7 stitches apart.
R20: (sc 4, dec) repeat 6 times (30)
R21: (sc 3, dec) repeat 6 times (24)
R22: (sc 2, dec) repeat 6 times (18)
Stuff firmly, focusing on the cheeks.
R23: (sc 1, dec) repeat 6 times (12)
R24: dec 6 times (6)
Fasten off and weave in end.
Component 2: The Iconic Hat (Pink)
This must fit over the head like a helmet. It sits low on the forehead.
R1: Start 6 sc in a magic ring (6)
R2: inc in each st around (12)
R3: (sc 1, inc) repeat 6 times (18)
R4: (sc 2, inc) repeat 6 times (24)
R5: (sc 3, inc) repeat 6 times (30)
R6: (sc 4, inc) repeat 6 times (36)
R7: (sc 5, inc) repeat 6 times (42)
R8: (sc 6, inc) repeat 6 times (48)
R9: (sc 7, inc) repeat 6 times (54) — Slightly larger than head for fit.
R10–R18: sc in each st around (54)
R19: FLO (Front Loop Only) inc in each st around (108) — This creates the ruffle brim.
R20: sc in each st around (108)
Fasten off. Leave a very long tail for sewing to the head later.
Component 3: The Antlers (Dark Brown)
Make 2. These are the “branches” of his medical knowledge.
Main Piece:
R1: 5 sc in magic ring (5)
R2–R7: sc in each st around (5)
Fasten off.
Side Branch:
R1: 4 sc in magic ring (4)
R2–R3: sc in each st around (4)
Fasten off. Sew the Side Branch to the Main Piece to form a “Y” shape.
Component 4: The Body (Red & Tan)
We start with the shorts to avoid sewing later.
Leg 1 (Red):
R1: 6 sc in magic ring (6)
R2: inc in each st around (12)
R3–R4: sc in each st around (12)
Fasten off Leg 1.
Leg 2 (Red):
Repeat R1–R4. Do not fasten off.
R5: ch 2, join to Leg 1 with a sc. sc around Leg 1 (12), sc across one side of ch (2), sc around Leg 2 (12), sc across other side of ch (2). Total stitches approx (28).
R6: (sc 6, inc) repeat 4 times (32)
R7–R9: sc in each st around (32)
Change color to Tan/Biscuit
R10: BLO sc in each st around (32)
R11–R13: sc in each st around (32)
R14: (sc 6, dec) repeat 4 times (28)
R15: (sc 5, dec) repeat 4 times (24)
R16: (sc 2, dec) repeat 6 times (18)
Fasten off, leaving a tail for sewing. Stuff body firmly.
Component 5: Arms (Tan)
Make 2. Keep them small.
R1: 6 sc in magic ring (6)
R2–R6: sc in each st around (6)
Fasten off. Lightly stuff only the bottom half.
Assembly & Final Touches
- The Face: Embroider a small, triangular nose using Blue yarn (or glue a blue felt triangle) exactly between the eyes. Use black thread for a small “w” mouth. Add pink yarn or blush makeup for rosy cheeks.
- The Hat: Place the Pink Hat onto the Head. It should sit just above the eyes. Sew it securely in place using the back loops of the hat (before the brim starts).
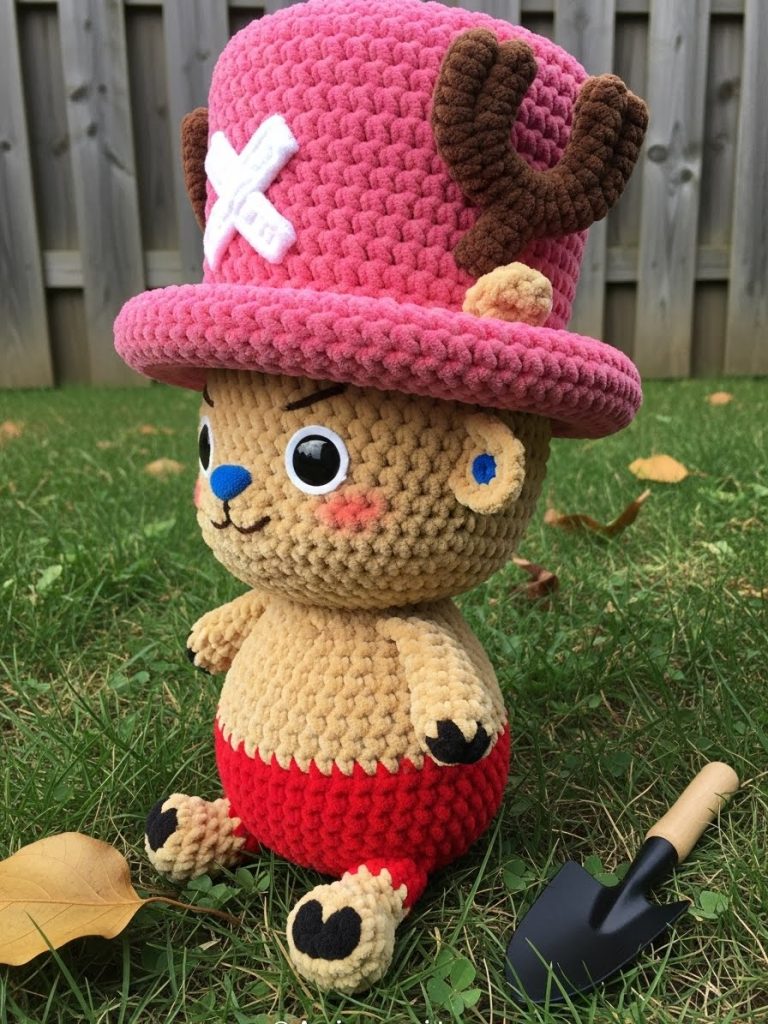
- The Antlers: Sew the antlers onto the sides of the Hat.
- The Ears: (Optional, if you want them peeking out) Make two small semicircles in Tan and sew them just under the brim of the hat.
- The X: Cut a white “X” from felt and glue it to the center front of the hat.
- Body: Sew the Head to the Body securely. Attach Arms to the sides of the Body just below the neck.
Tips & FAQs
Q: My chenille yarn is shedding!
A: This happens with plush yarn. Lightly singe the end with a lighter (carefully!) before starting your knot to stop the fraying.
Q: The neck is wobbly.
A: Because the head is large, insert a extra firm roll of stuffing or a “neck support” (a rolled piece of felt) inside the neck before sewing the head on.
A Final Word
You have done it. You have brought this little doctor to life. Look at that squishy face! He is ready to offer comfort and joy. Remember, handmade imperfections are just the signature of your spirit.