A magnificent choice. Ruby is a testament to the power of texture and form. Working with chenille yarn requires a gentle tension, yet the results yield an unmatched softness that brings a character to life instantly. Let us begin this beautiful project.
About This Creation
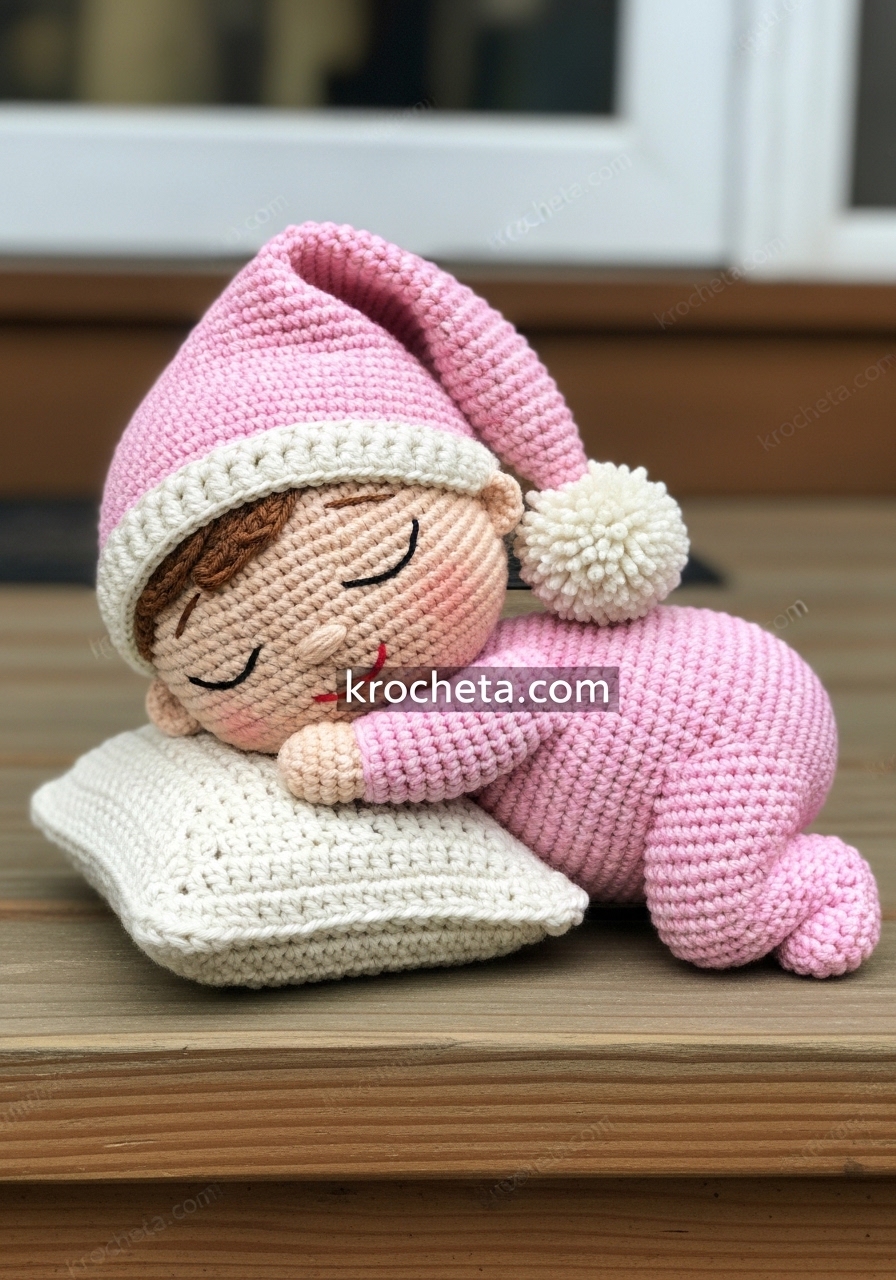
Creating structural integrity with plush yarn is often considered a formidable challenge by many makers. Ruby is designed specifically to conquer that hurdle. Her proportions follow the classic rules of baby schema, utilizing a significantly larger head to draw the eye, while her compact body provides a sturdy base. The rich contrast between the crisp white and deep crimson red evokes a nostalgic, bakery-sweet aesthetic.
We will build her from the top down for her head, ensuring the cheek shaping is built directly into the rounds. Her bloomer-style romper is integrated right into the body construction, eliminating tedious seaming and guaranteeing a seamless color transition.
Project Snapshot:
📊 Difficulty: Intermediate
⏰ Est. Time: 8 to 10 Hours
📏 Size: Approximately 14 inches tall
“The secret to pristine amigurumi lies not in the tension of your hands, but in the precision of your mathematics. Trust the stitch counts, and the shape will naturally reveal itself.” – Patricia Poltera
Materials & Tools Needed
🧶 Yarn: Super Bulky (Weight 6) Chenille Yarn. Colors: Skin Tone, Dark Red, White, Brown, Small amounts of Yellow and Light Blue.
🪡 Hook: 4.5mm crochet hook (or size needed to achieve a tight fabric without gaps).
✨ Other Materials: 12mm safety eyes, polyester fiberfill, black and pink embroidery floss (for eyelashes and cheeks), yarn needle, stitch markers.
Abbreviations & Stitches Used
ch: chain
sl st: slip stitch
sc: single crochet
inc: increase (two single crochet in one stitch)
dec: decrease (single crochet two together, preferably invisible decrease)
FLO: front loops only
BLO: back loops only
hdc: half double crochet
dc: double crochet
The Complete Ruby the Cupcake Doll Pattern
The Head
We begin at the top of the head. Use Skin Tone yarn.
R1: 6 sc in a magic ring (6)
R2: 6 inc (12)
R3: (sc, inc) x 6 (18)
R4: (2 sc, inc) x 6 (24)
R5: (3 sc, inc) x 6 (30)
R6: (4 sc, inc) x 6 (36)
R7: (5 sc, inc) x 6 (42)
R8: (6 sc, inc) x 6 (48)
R9: (7 sc, inc) x 6 (54)
R10-R19: 54 sc (54)
Artisan’s Note: The following round builds the volume for her cheeks. Place your safety eyes between rounds 18 and 19, leaving about 8 stitches between them, making sure they are centered over the cheek increases.
R20: 18 sc, (sc, inc) x 3, 6 sc, (inc, sc) x 3, 18 sc (60)
R21-R24: 60 sc (60)
R25: 18 sc, (sc, dec) x 3, 6 sc, (dec, sc) x 3, 18 sc (54)
R26: (7 sc, dec) x 6 (48)
R27: (6 sc, dec) x 6 (42)
R28: (5 sc, dec) x 6 (36)
R29: (4 sc, dec) x 6 (30)
R30: (3 sc, dec) x 6 (24)
R31: (2 sc, dec) x 6 (18)
R32: (sc, dec) x 6 (12)
Fasten off. Stuff the head firmly, paying special attention to pushing fiberfill into the cheek pockets.
The Ears (Make 2)
Use Skin Tone yarn.
R1: ch 2, 4 hdc in 2nd ch from hook (4)
Fasten off, leaving a long tail for sewing.
Hair Cap & Curls
Use Brown yarn.
R1: 6 sc in a magic ring (6)
R2: 6 inc (12)
R3: (sc, inc) x 6 (18)
R4: (2 sc, inc) x 6 (24)
R5: (3 sc, inc) x 6 (30)
R6: (4 sc, inc) x 6 (36)
R7: (5 sc, inc) x 6 (42)
R8: (6 sc, inc) x 6 (48)
R9: (7 sc, inc) x 6 (54)
R10-R14: 54 sc (54)
Artisan’s Note: Do not fasten off. We will now create the curls directly from the edge of the cap.
Front Bangs (Repeat 10 times): ch 15. Starting in 2nd ch from hook, 14 sc down the chain. Sl st in the next stitch on the edge of the hair cap.
Long Curls (Repeat 44 times): ch 35. Starting in 2nd ch from hook, 34 sc down the chain. Sl st in the next stitch on the edge of the hair cap.
Fasten off, leaving an exceptionally long tail to sew the cap to the head.
The Arms (Make 2)
Use Skin Tone yarn.
R1: 6 sc in a magic ring (6)
R2: (2 sc, inc) x 2 (8)
R3: (3 sc, inc) x 2 (10)
R4-R5: 10 sc (10)
R6: 4-dc bobble stitch in the next stitch to create the thumb, 9 sc (10)
R7-R12: 10 sc (10)
Artisan’s Note: The slip stitches in the next round will force the arm to bend naturally at the elbow.
R13: 4 sl st, 6 sc (10)
R14-R19: 10 sc (10)
Stuff the hand and lower arm lightly. Leave the upper arm empty so it lays flat against the body. Fold the top opening flat and crochet 5 sc across both layers to close.
The Legs (Make 2)
Start with White yarn for the socks.
R1: 6 sc in a magic ring (6)
R2: 6 inc (12)
R3: (sc, inc) x 6 (18)
R4: BLO 18 sc (18)
R5-R6: 18 sc (18)
R7: 5 sc, 4 dec, 5 sc (14)
R8: 5 sc, 2 dec, 5 sc (12)
R9-R12: 12 sc (12)
R13: FLO 12 sc (12)
Fasten off the White yarn. This FLO round creates the ruffle of her sock. Join Skin Tone yarn to the remaining Back Loops of R12.
R13 (Skin Tone): BLO 12 sc (12)
R14-R16: 12 sc (12)
R17: 4 sl st, 4 inc, 4 sc (16)
R18: 16 sc (16)
R19: 4 sl st, 4 dec, 4 sc (12)
R20-R23: 12 sc (12)
Stuff the leg firmly. Fasten off the first leg. Do not fasten off the second leg; we will continue to build the body.
The Body & Romper
Continuing from Leg 2, use Skin Tone yarn. Chain 3. Join to the first unworked stitch of Leg 1.
R24: 12 sc around Leg 1, 3 sc across the chain, 12 sc around Leg 2, 3 sc across the opposite side of the chain (30)
Change to Dark Red yarn.
R25: (4 sc, inc) x 6 (36)
R26: (5 sc, inc) x 6 (42)
R27: (6 sc, inc) x 6 (48)
R28-R31: 48 sc (48)
R32: (6 sc, dec) x 6 (42)
Change to White yarn.
R33: 42 sc (42)
R34: (5 sc, dec) x 6 (36)
Change to Dark Red yarn.
R35: 36 sc (36)
Change to White yarn.
R36: 36 sc (36)
Change to Dark Red yarn.
R37: 36 sc (36)
R38: (4 sc, dec) x 6 (30)
R39-R40: 30 sc (30)
R41: (3 sc, dec) x 6 (24)
R42: 24 sc (24)
R43: (2 sc, dec) x 6 (18)
R44: 18 sc (18)
R45: (sc, dec) x 6 (12)
Fasten off, leaving a long tail. Stuff the body firmly, ensuring the hips are packed well to support the weight of her head.
The Crimson Bow
Use Dark Red yarn.
R1: Ch 30. Sl st to the first ch to form a ring. ch 1, 30 sc around. Join with sl st (30)
R2-R6: ch 1, 30 sc around. Join with sl st (30)
Fasten off. Flatten the cylinder. Cut a long piece of Dark Red yarn and wrap it tightly around the exact center, cinching the fabric to form a bow. Knot securely and leave a tail for sewing.
Mary Jane Shoes (Make 2)
Start with White yarn for the sole.
R1: ch 6. Starting in 2nd ch from hook: 4 sc, 3 sc in the last ch. Working down the opposite side of the chain: 3 sc, inc (12)
R2: inc, 3 sc, 3 inc, 3 sc, 2 inc (18)
R3: sc, inc, 3 sc, (sc, inc) x 3, 3 sc, (sc, inc) x 2 (24)
Change to Dark Red yarn.
R4: BLO 24 sc (24)
R5-R6: 24 sc (24)
R7: 7 sc, 5 dec, 7 sc (19)
R8: 6 sc, ch 8 (this creates the strap). Skip the next 7 stitches across the instep, join the strap with a sc in the 14th stitch. 5 sc to the end. (12 sc, 8 chs)
Fasten off and weave in ends.
The Cupcake Applique
Start with Yellow yarn for the wrapper.
R1: ch 5. Starting in 2nd ch: 4 sc (4)
R2: ch 1, turn. inc, 2 sc, inc (6)
Fasten off. Attach Blue yarn to the top right corner of the wrapper.
R3: ch 1, (sc, hdc, dc in next st), sl st in next st, (hdc, dc, hdc in next st), sl st in next st, (dc, hdc, sc in last st).
Fasten off. Sew a tiny red bead to the top center for the cherry.
Assembly & Final Touches
➡️ Position the head onto the neck opening of the body. Sew securely using the long tail left from the body, adding extra stuffing to the neck joint just before closing to prevent wobbling.
➡️ Sew the hair cap to the top of the head. Align the 10 shorter bangs across the forehead. Arrange the long curls gracefully around the sides and back, tacking them down with a small stitch where desired so they drape perfectly.
➡️ Sew the Crimson Bow to the top of the hair, slightly off-center for a natural look.
➡️ Sew the ears flush against the head on either side, directly aligned with the center of the eyes (around rounds 18-19).
➡️ Sew the arms to the sides of the body, placing them between rounds 43 and 44, directly under the neck line. Ensure the thumbs are facing forward.
➡️ Slip the Mary Jane shoes onto her feet.
➡️ Sew the Cupcake Applique to the center of her chest, resting it over the top white stripe.
➡️ Use black embroidery floss to stitch a thin, elegant eyelash to the outer corner of each eye. Use pink floss to stitch a tiny, straight line for the nose directly between the eyes. Apply a very light dusting of real blush to the cheek bumps.
Tips & FAQs
Q: My chenille yarn keeps snapping when I try to pull the magic ring closed. How do I fix this? A: Chenille is notoriously fragile under friction. Instead of a traditional magic ring, chain 2, and work your first round of 6 single crochets entirely into the second chain from the hook. This provides a secure start without the need for pulling.
Q: The head is floppy and leans backward. What went wrong? A: A floppy neck is the result of under-stuffing the final rounds of the body and the first rounds of the head. You must pack the fiberfill into this joint densely. If it is still weak, insert a tightly rolled piece of felt or a crochet tube into the neck cavity as a structural spine.
Q: The color changes on the striped bodice look jagged. How can I make them cleaner? A: Always finish the final step of the stitch before the color change using the new color. For an even straighter line, slip stitch loosely around the entire piece upon joining the new color, and work your single crochets of that round directly into the slip stitches.
A Final Word
Your hands have constructed something truly beautiful today. Precision, patience, and a deep respect for the craft are woven into every fiber of your new doll. I am immensely proud of your dedication to the art of amigurumi.