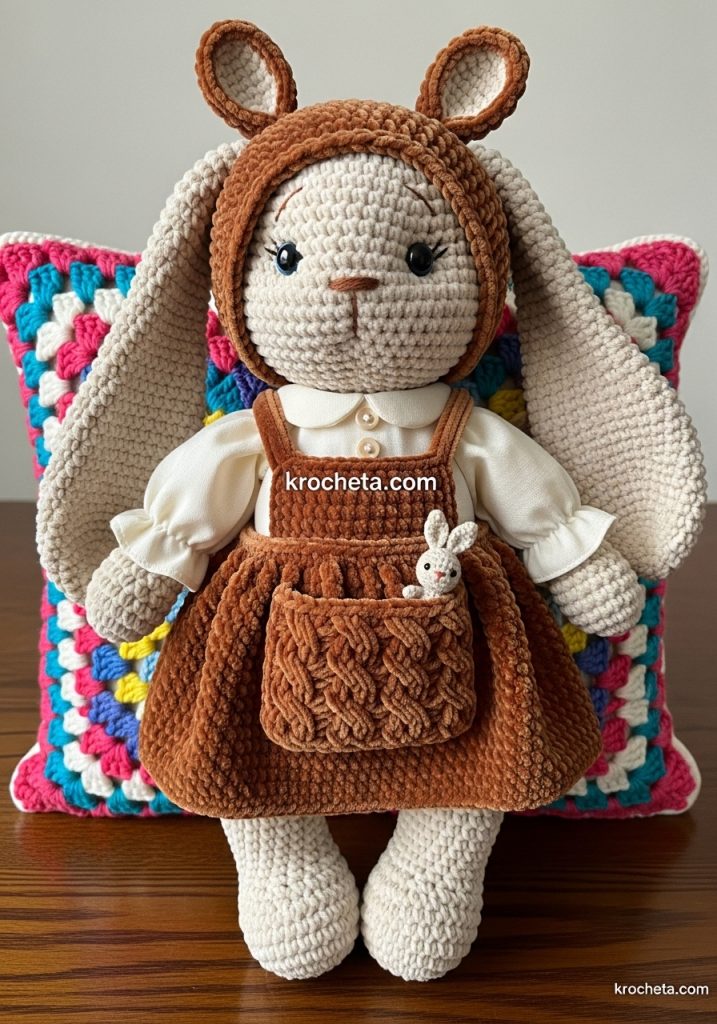
There is a profound beauty in the bond of caretaking. Today, we honor that spirit. We are not simply making a toy; we are crafting a story of nurture. This ensemble features a functional pocket—a “pouch”—designed to hold the tiniest amigurumi treasure. It requires patience, particularly with the micro-work for the baby, but the result is a heirloom-quality piece that speaks to the heart.
Project Snapshot
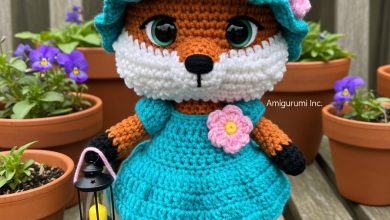
📊 Difficulty: Advanced ⏰ Est. Time: 10–12 Hours 📏 Size: Clementine (25cm) + Micro Baby (4cm)
Materials & Tools
🧶 Yarn:
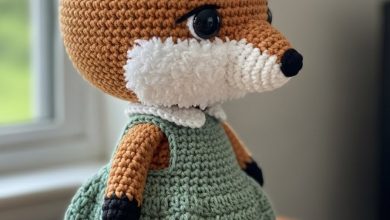
- Soft Beige (Clementine Body & Micro Baby)
- Hazelnut/Rust (Pinafore & Bonnet)
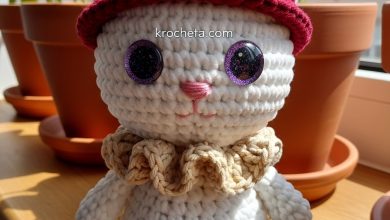
- Cream (Blouse) 🪡 Hook: 2.5mm (Main) & 1.5mm (Micro Baby) ✨ Accessories: Safety eyes (12mm for Mom, embroidery for Baby), 2 wooden buttons, stitch markers.
The Pattern: Clementine’s Base (Summary)
(Use Soft Beige Yarn & 2.5mm Hook) Head: Work a standard sphere (6sc start, inc to 54sc, work even, dec). Insert eyes at row 18. Body: Work from bottom up (6sc start, inc to 48sc). Work even for height, decrease to neck (24sc). Ears: Long and floppy. Ch 15, sc back. Make 2. Limbs: Simple tubes (6sc start, inc to 18sc). Stuff firmly.
The Pattern: The Outback Nanny Instructions
1. The Cream Puff Blouse (Underlayer)
Use Cream Yarn. Worked in rows. Row 1: Ch 25 (fits around neck), sc across. (24) Row 2: Sc 2, inc repeat across. (32) Row 3: (Armholes) Sc 5, ch 6 (skip 6), sc 10, ch 6 (skip 6), sc 5. Row 4-6: Sc in each st and ch. Work even. Row 7: (The Frill) Ch 3, sl st in next st repeat across to create a delicate lace hem. Fasten off.
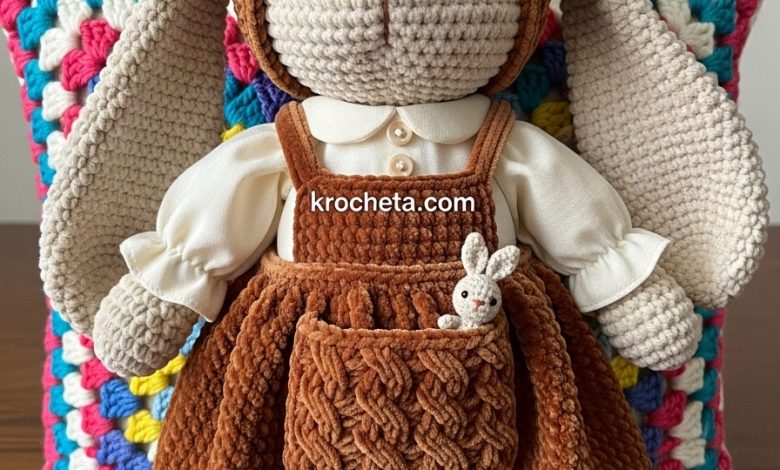
2. The Hazelnut Pinafore with Cable Pouch
Use Hazelnut Yarn. We construct the skirt, then the bib, then the pouch.
The Skirt (Waist Down) Row 1: Ch 36, join to form a circle. Sc around. Row 2: Dc 5, dc-inc repeat around. (42) Row 3-8: Dc in each st around. Row 9: (Ruffle Hem) Sk 1, 5dc in next st, sk 1, sl st repeat around. Fasten off.
The Bib (Chest) Row 1: Join yarn at front center of waist. Sc 12. Row 2-6: Ch 1, turn. Sc across. Straps: Ch 18 from top corners of bib. Cross them at the back and sew to waistband.
The Kangaroo Pouch (The Masterpiece Detail) Make a separate pocket piece. Row 1: Ch 10. Sc across. Row 2: Sc 1, Front Post Double Crochet (FPdc) around next st, sc 1 – this creates a texture. Row 3: Sc across. Row 4-7: Repeat row 2 & 3 to create a basket-weave texture. Assembly: Sew the pouch onto the front of the skirt. Leave the top edge OPEN.
3. The Guardian Bonnet
Use Hazelnut Yarn. Round 1: Magic ring 6. Round 2: Inc around. (12) Round 3: Sc 1, inc around. (18) Round 4: Sc 2, inc around. (24) Round 5-9: Sc around. Round 10: (Ear Holes) Sc 4, ch 6 (skip 4), sc 8, ch 6 (skip 4), sc 4. Round 11: Sc around, working over chains. Round 12: Sc around. Fasten off. attach cream ribbons to corners.
4. The Micro-Baby (The Treasure)
Use Beige Yarn. Switch to 1.5mm hook for tight stitches. Head/Body (One piece): Rnd 1: Magic ring 6. Rnd 2: Sc 1, inc (9). Rnd 3-5: Sc around. Rnd 6: Dec around (5). Stuff tiny amount. Rnd 7: Inc around (10) – this is the body. Rnd 8-9: Sc around. Rnd 10: Dec to close. Ears: Ch 3, sl st back. Sew to head. Face: Embroider sleeping eyes with black thread.
Assembly
- Dress Clementine in the Cream Blouse first.
- Pull the Pinafore over the blouse. Button the straps at the back.
- Place the Bonnet on her head, pulling her long ears through the designated holes. Tie the ribbon under her chin.
- The Final Step: Gently place the Micro-Baby into the front pouch of the pinafore.
A Final Word
You have created not just a doll, but a tableau of affection. Well done.