My Dearest Creator,
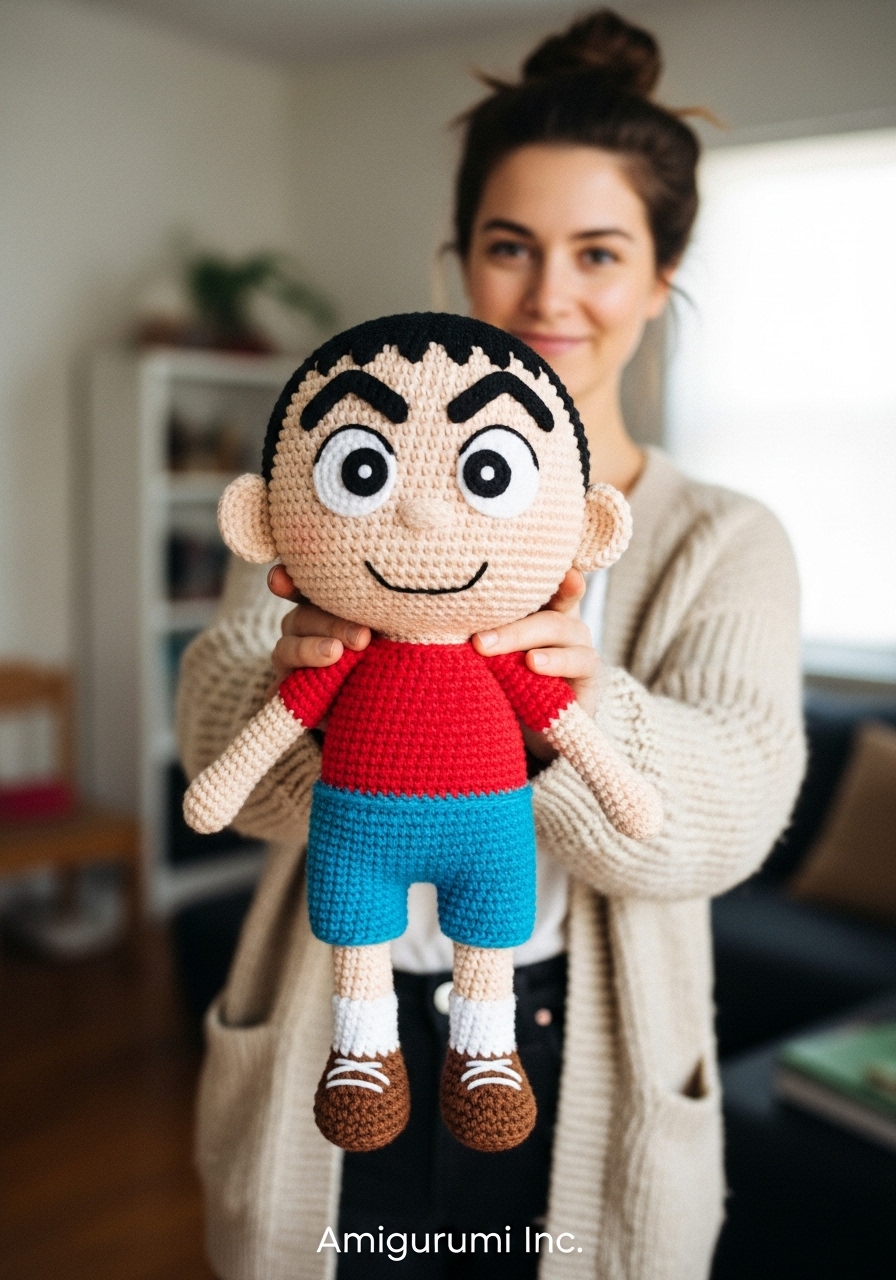
It brings me such joy to present this project to you. We are about to recreate a legend, a character whose very silhouette brings a smile to millions. Let us work with patience and humor to bring this little rascal to life.
About This Creation
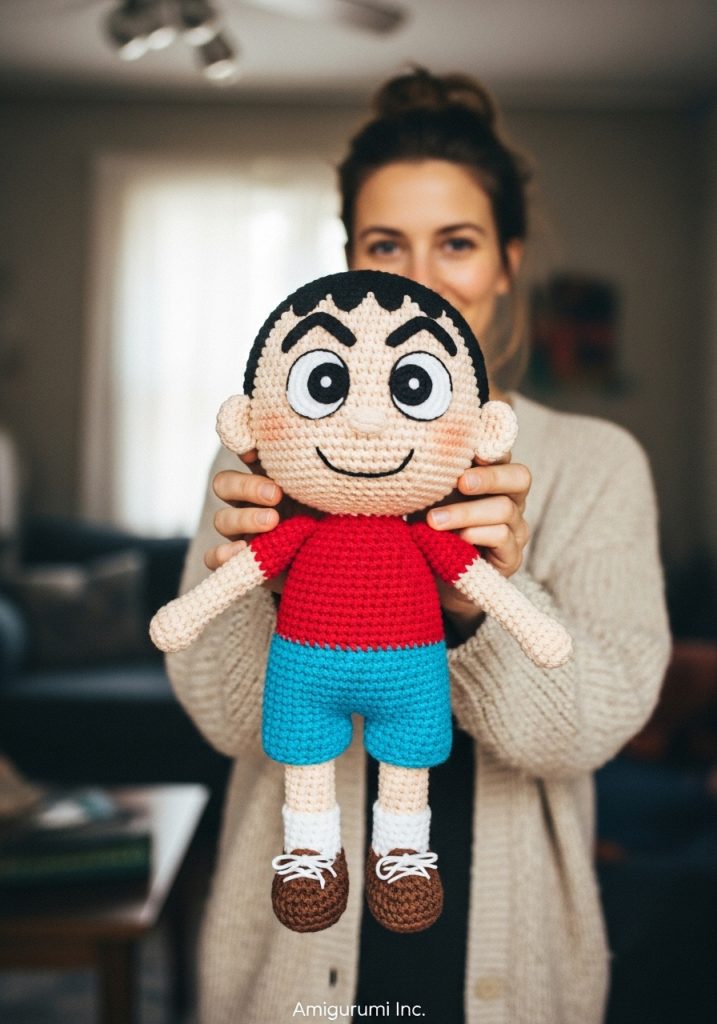
This is not just a doll; it is a tribute to childhood mischief. While many anime characters are complex, Shin-chan is bold simplicity. The challenge here is not in complex stitches, but in proportion. We want that large, expressive head and those unforgettable eyebrows to be the star of the show.
This project is perfect for creators who want to practice color changes and facial detailing. The result is a sturdy, huggable companion that looks as if he just stepped out of the television screen.
Project Snapshot
📊 Difficulty: Intermediate
⏰ Est. Time: 5-7 Hours
📏 Size: Approx. 20cm Tall
“The soul of the character lies in the placement of the eyebrows. Do not rush that step!” — Patricia
Materials & Tools Needed
🧶 Yarn: DK or Worsted Weight Cotton. Colors: Skin Tone (Beige/Peach), Bright Red, Royal Blue, White, Chocolate Brown, Black.
🪡 Hook: 2.5mm or 3.0mm (to ensure tight tension)
✨ Other Materials: Fiberfill stuffing, black felt (for eyebrows), fabric glue, tapestry needle, stitch markers.

Abbreviations & Stitches Used
ch: chain
sl st: slip stitch
sc: single crochet
inc: increase (2 sc in one stitch)
dec: decrease (invisible decrease preferred)
BLO: back loop only
The Complete Shin-chan Pattern
The Head (Skin Tone)
We begin with the most important part. We need a generous size to capture his cartoon proportions.
R1: Start 6 sc in a magic ring. (6)
R2: Inc in every st. (12)
R3: 🧶 (1 sc, inc) x 6. (18)
R4: 🧶 (2 sc, inc) x 6. (24)
R5: 🧶 (3 sc, inc) x 6. (30)
R6: 🧶 (4 sc, inc) x 6. (36)
R7: 🧶 (5 sc, inc) x 6. (42)
R8: 🧶 (6 sc, inc) x 6. (48)
R9-R18: Sc in each st around. (48) Place safety eyes here between R13 and R14 if using them, though felt eyes work better for his expression.
R19: 🧶 (6 sc, dec) x 6. (42)
R20: 🧶 (5 sc, dec) x 6. (36)
R21: 🧶 (4 sc, dec) x 6. (30)
R22: 🧶 (3 sc, dec) x 6. (24)
Artisan’s Note: Stuff the head very firmly now. You want a smooth, round shape without lumps.
R23: 🧶 (2 sc, dec) x 6. (18)
R24: 🧶 (1 sc, dec) x 6. (12)
Fasten off, leaving a long tail for sewing.
The Legs (Make 2)
Start with Brown (Shoes).
R1: Start 6 sc in a magic ring. (6)
R2: Inc in every st. (12)
R3: BLO sc in each st around. (12)
R4: Sc in each st around. (12)
Change to White (Socks).
R5-R6: Sc in each st around. (12)
Change to Skin Tone.
R7-R9: Sc in each st around. (12)
Fasten off the first leg. Do not fasten off the second leg; we will join them.
The Body (Red T-Shirt & Blue Shorts)
Connect the legs with a ch 2 using Blue yarn (Shorts).
R10: Sc 12 around first leg, sc 2 in ch, sc 12 around second leg, sc 2 in other side of ch. (28)
R11-R13: Sc in each st around. (28)
Change to Red (T-Shirt).
R14: BLO sc in each st around (creates the shirt hem). (28)
R15-R19: Sc in each st around. (28)
R20: 🧶 (5 sc, dec) x 4. (24)
R21: 🧶 (2 sc, dec) x 6. (18)
Fasten off, leaving a tail for sewing. Stuff the body firmly.
The Arms (Make 2)
Start with Skin Tone.
R1: Start 6 sc in a magic ring. (6)
R2: Sc in each st around. (6)
Change to Red (Sleeves).
R3: Inc in every st. (12)
R4-R6: Sc in each st around. (12)
R7: 🧶 (1 sc, dec) x 4. (8)
Fasten off and leave a tail. Lightly stuff.
Assembly & Final Touches
- ➡️ Head to Body: Sew the head securely to the body. Ensure his chin is centered over the shirt.
- ➡️ Arms: Attach arms on R20 of the body, slightly angled forward.
- ➡️ The Face (Crucial Step): Cut two thick, curved rectangles from black felt for eyebrows. Glue them high on the forehead. Embroider a small circle mouth between the eyes using black thread.
- ➡️ Hair: You can embroider the hairline directly onto the head using black yarn, creating the “M” shape, or crochet a simple black cap following the Head pattern R1-R9 and sew it on.
Tips & FAQs
Q: Can I crochet the eyes?
A: You certainly can, but for Shin-chan, flat felt eyes often capture the 2D anime look much better than 3D safety eyes.
Q: How do I make him stand?
A: Ensure the bottom of the shoes are flat when stuffing. You can insert a small piece of plastic or cardboard in the base of the shoe before stuffing for stability.
A Final Word
There you have it. A piece of nostalgia, crafted with your own hands. I hope this little character brings a sense of playfulness to your shelf. Keep creating, keep stitching, and remember that every loop is a moment of care.
Warmly,
Patricia

