My dearest maker, welcome back to the worktable. I am thrilled you have chosen to bring Bimbo to life. There is a profound joy in working with chenille yarn; it forgives our tension errors and rewards us with immediate softness. Let us pick up our hooks and begin this grand performance.
About This Creation & The Jumbo Plush Angle
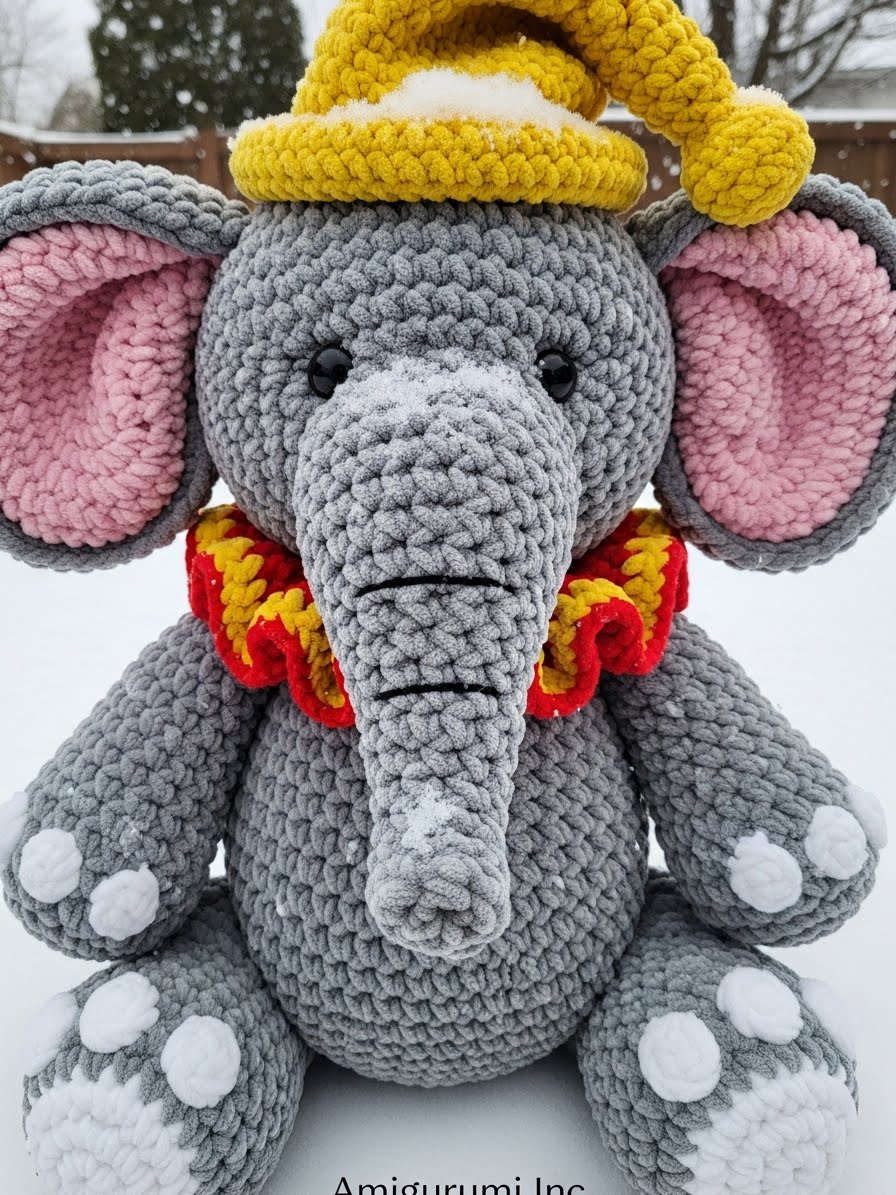
We often craft small trinkets that sit on shelves, but Bimbo is designed to be held. By utilizing super bulky chenille yarn, we transform a standard amigurumi pattern into a “statement piece” for a nursery or bedroom. This project focuses on structural integrity—ensuring that a heavy, plush head sits proudly without wobbling. The circus theme adds a splash of vibrant primary colors, engaging the eyes and sparking the imagination of anyone who meets him. He is not just a toy; he is a soft companion for storytime.
Project Snapshot:
📊 Difficulty: Intermediate (Working with textured yarn)
⏰ Est. Time: 6–8 Hours
📏 Size: Approx. 30cm (12 inches) tall when seated
“The magic of the circus is not in the tent, but in the sparkle of the eyes watching it. Bimbo captures that very sparkle.” — Patricia Poltera

Materials & Tools Needed
🧶 Yarn: Super Bulky (Size 6) Chenille/Velvet Yarn. ➡️ Main Color: Silvery Grey (approx. 200g) ➡️ Accent A: Bubblegum Pink (Inner ears, cheeks) ➡️ Accent B: Bright Yellow (Hat, collar details) ➡️ Accent C: Ruby Red (Collar) ➡️ Accent D: White (Toes)
🪡 Hook: 5.0mm or 5.5mm (to ensure tight tension with bulky yarn)
✨ Other Materials: ➡️ 20mm Safety Eyes (Black) ➡️ Polyester fiberfill (stuff firmly!) ➡️ Yarn needle (large eye) ➡️ Stitch markers ➡️ Long pins for assembly
Abbreviations & Stitches Used
ch: chain
sl st: slip stitch
sc: single crochet
inc: increase (2 sc in one st)
dec: decrease (invisible decrease preferred)
BLO: back loop only
pop: popcorn stitch or bobble (for toes)
The Complete Bimbo the Elephant Pattern
The Majestic Head
Worked in the Main Color (Grey).
R1: Start 8 sc in a magic ring. (8)
R2: Inc in each st around. (16)
R3: (1 sc, inc) x 8. (24)
R4: (2 sc, inc) x 8. (32)
R5: (3 sc, inc) x 8. (40)
R6: (4 sc, inc) x 8. (48)
R7: (5 sc, inc) x 8. (56)
R8–R18: Sc in each st around. (56) [11 rounds of height]
R19: (5 sc, dec) x 8. (48)
R20: (4 sc, dec) x 8. (40)
Artisan’s Note: Insert safety eyes between R14 and R15, spaced about 10 stitches apart. Ensure they are centered.
R21: (3 sc, dec) x 8. (32)
R22: (2 sc, dec) x 8. (24)
Stuff the head firmly, shaping it into a round sphere.
R23: (1 sc, dec) x 8. (16)
R24: Dec x 8. (8)
Fasten off and weave in end.
The Trunk
Worked in Main Color (Grey).
R1: Start 6 sc in a magic ring. (6)
R2: Inc in each st around. (12)
R3: BLO sc in each st around. (12)
R4–R6: Sc in each st around. (12)
R7: (1 sc, inc) x 6. (18)
R8–R12: Sc in each st around. (18)
R13: (2 sc, inc) x 6. (24)
R14–R16: Sc in each st around. (24)
Fasten off, leaving a long tail for sewing. Stuff lightly, keeping the curve flexible.
The Ears (Make 2 Pink, 2 Grey)
Make the Pink inner ear first. Fasten off. Then make the Grey outer ear, do not fasten off.
R1: Start 6 sc in a magic ring. (6)
R2: Inc in each st around. (12)
R3: (1 sc, inc) x 6. (18)
R4: (2 sc, inc) x 6. (24)
R5: (3 sc, inc) x 6. (30)
R6: (4 sc, inc) x 6. (36)
R7: (5 sc, inc) x 6. (42)
Assembly of Ear: Place the Pink circle on top of the Grey circle (wrong sides facing each other). With Grey yarn, sc through both layers around the entire edge to join them.
Fasten off, leaving a long tail.
The Stout Body
Worked in Main Color (Grey).
R1: Start 8 sc in a magic ring. (8)
R2: Inc in each st around. (16)
R3: (1 sc, inc) x 8. (24)
R4: (2 sc, inc) x 8. (32)
R5: (3 sc, inc) x 8. (40)
R6: (4 sc, inc) x 8. (48)
R7: (5 sc, inc) x 8. (56)
R8–R15: Sc in each st around. (56)
R16: (5 sc, dec) x 8. (48)
R17–R18: Sc in each st around. (48)
R19: (4 sc, dec) x 8. (40)
R20–R21: Sc in each st around. (40)
R22: (3 sc, dec) x 8. (32)
R23: (2 sc, dec) x 8. (24)
Stuff the body very firmly, creating a flat base so he sits well.
Fasten off, leaving a long tail for sewing to the head.
The Limbs (Arms & Legs)
Make 2 Arms and 2 Legs (Legs can be slightly shorter if desired, but this pattern uses a uniform chunky size).
R1: Start with White yarn. 6 sc in magic ring. (6)
R2: Inc in each st around. (12)
R3: (1 sc, inc) x 6. (18)
R4: Change to Grey. BLO sc in each st. (18)
R5: Create Toes: (Popcorn st, 2 sc) x 3, sc in remaining 9 sts. (18)
R6–R12: Sc in each st around. (18)
R13: (1 sc, dec) x 6. (12)
Fasten off. Stuff firmly.
The Circus Hat
Worked in Yellow.
R1: Start 6 sc in magic ring. (6)
R2: Inc in each st around. (12)
R3: (1 sc, inc) x 6. (18)
R4–R6: Sc in each st around. (18)
R7: (1 sc, dec) x 6. (12)
R8: Inc in each st around. (24) [Brim formation]
R9: Sc in each st around. (24)
Fasten off. Stuff the top “peanut” part lightly.
The Ruffled Collar
Start with Red.
R1: Ch 30 (measure around elephant’s neck to ensure fit), join to first ch.
R2: Ch 2, 2 DC in each st around. Join.
R3: Change to Yellow. Ch 1, (sc, ch 2, sc) in each stitch around to create a ruffled edge.
Fasten off.
Assembly & Final Touches
- Head & Body: Sew the head securely to the body. Use extra passes of yarn to prevent “wobbly head syndrome.”
- Face: Sew the trunk centered between the eyes, starting just below the eye line. Sew the ears on the sides of the head (R10–R15), slightly curved forward.
- Limbs: Sew legs to the bottom front of the body so he sits. Sew arms to the sides of the body just below the neck.
- Accessories: Stitch the hat slightly askew on top of the head for character. Wrap the collar around the neck and tack it down in the back.
- Cheeks: Using a small amount of pink yarn, embroider two small horizontal lines under the eyes for blush.
Tips & FAQs
Q: My chenille yarn is shedding! What do I do?
A: This is common. Gently singe the end of the yarn with a lighter (carefully!) before starting to melt the fibers together, or tie a knot at the very tip.
Q: Can I use acrylic yarn instead?
A: Certainly, but the size will be significantly smaller. If using worsted weight acrylic, use a 3.5mm hook.
A Final Word
Bimbo is now ready to join the circus of your life. May his cheerful colors remind you that creativity is meant to be loud, joyful, and shared. I cannot wait to see your version of our little star.

